Your recovery kit is 12 words that let you set a new PIN or passcode if you forget yours. Your files stay in the vault, and Lefila cannot see or recover your words.
When you set up Media Vault, write down your 12 words, save or print the kit, or copy the words into a password manager.
You can see your recovery kit again any time in Settings.
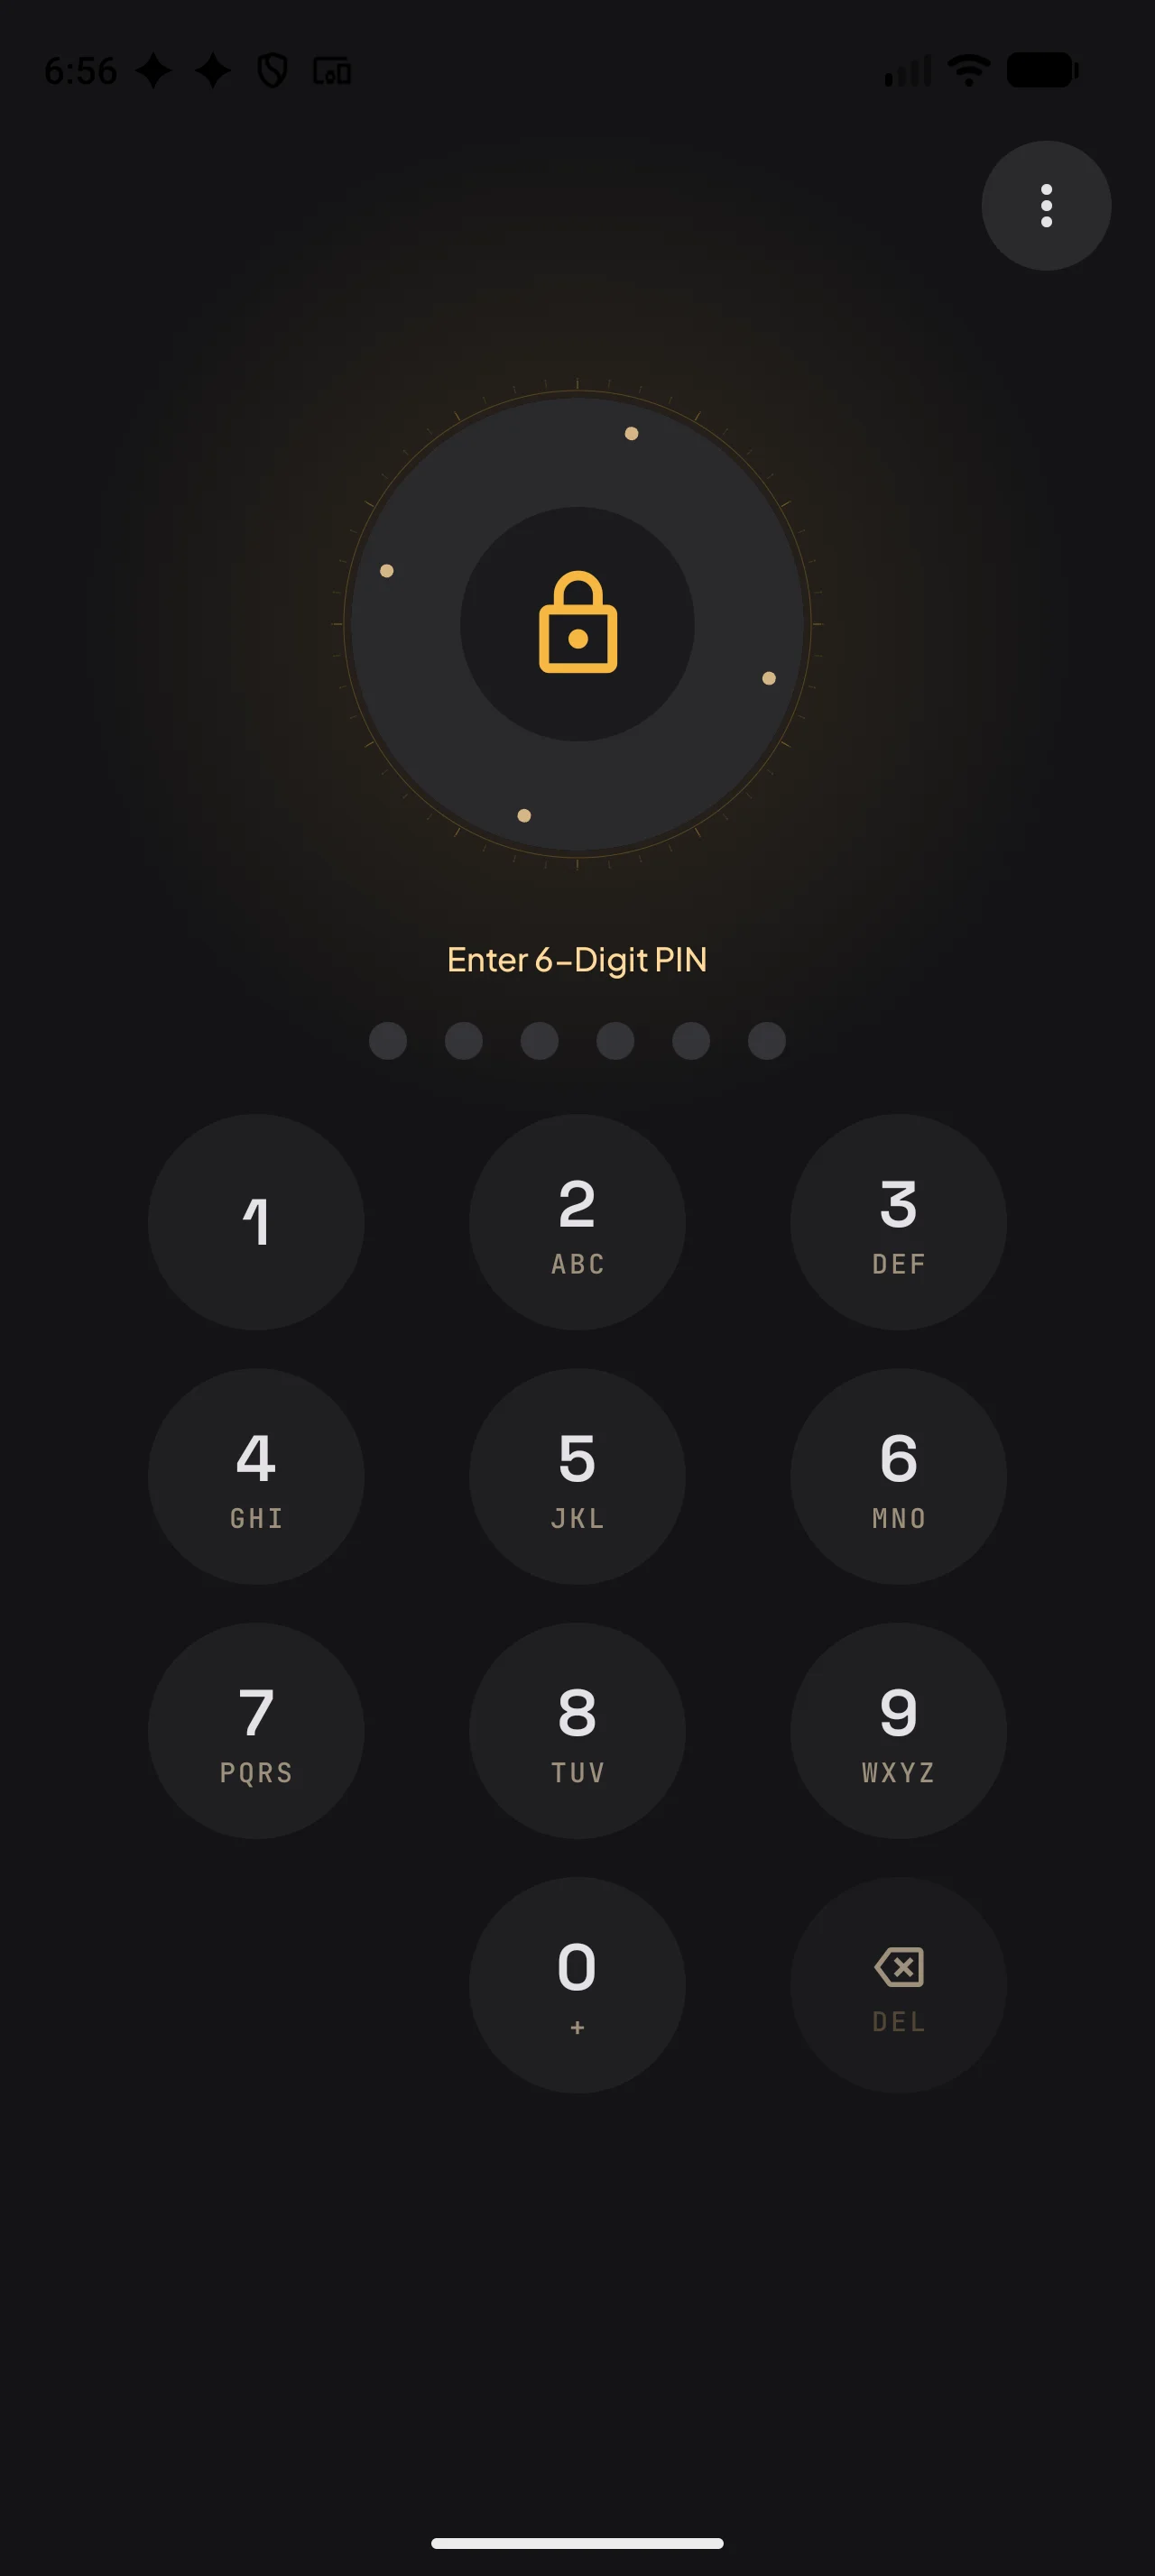
If you forget your PIN, tap Forgot PIN? on the lock screen and enter your 12 words.
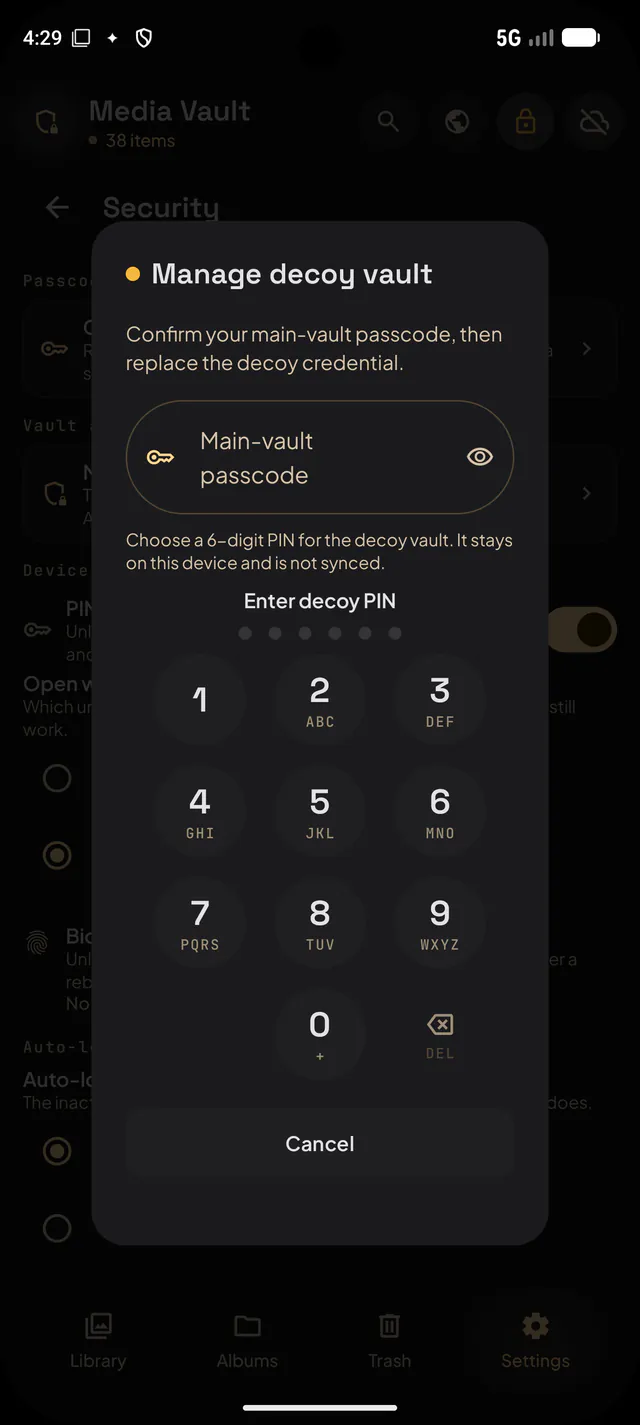
Choose a new PIN or passcode. Everything in your vault stays where it is.
Tip: Keep your words private. Anyone with your phone and your 12 words could set a new PIN, so avoid keeping them as a photo in your gallery.
Move photos and videos from your phone gallery into the vault. Import options, including photo metadata, are under Library defaults in Settings → Library & imports.
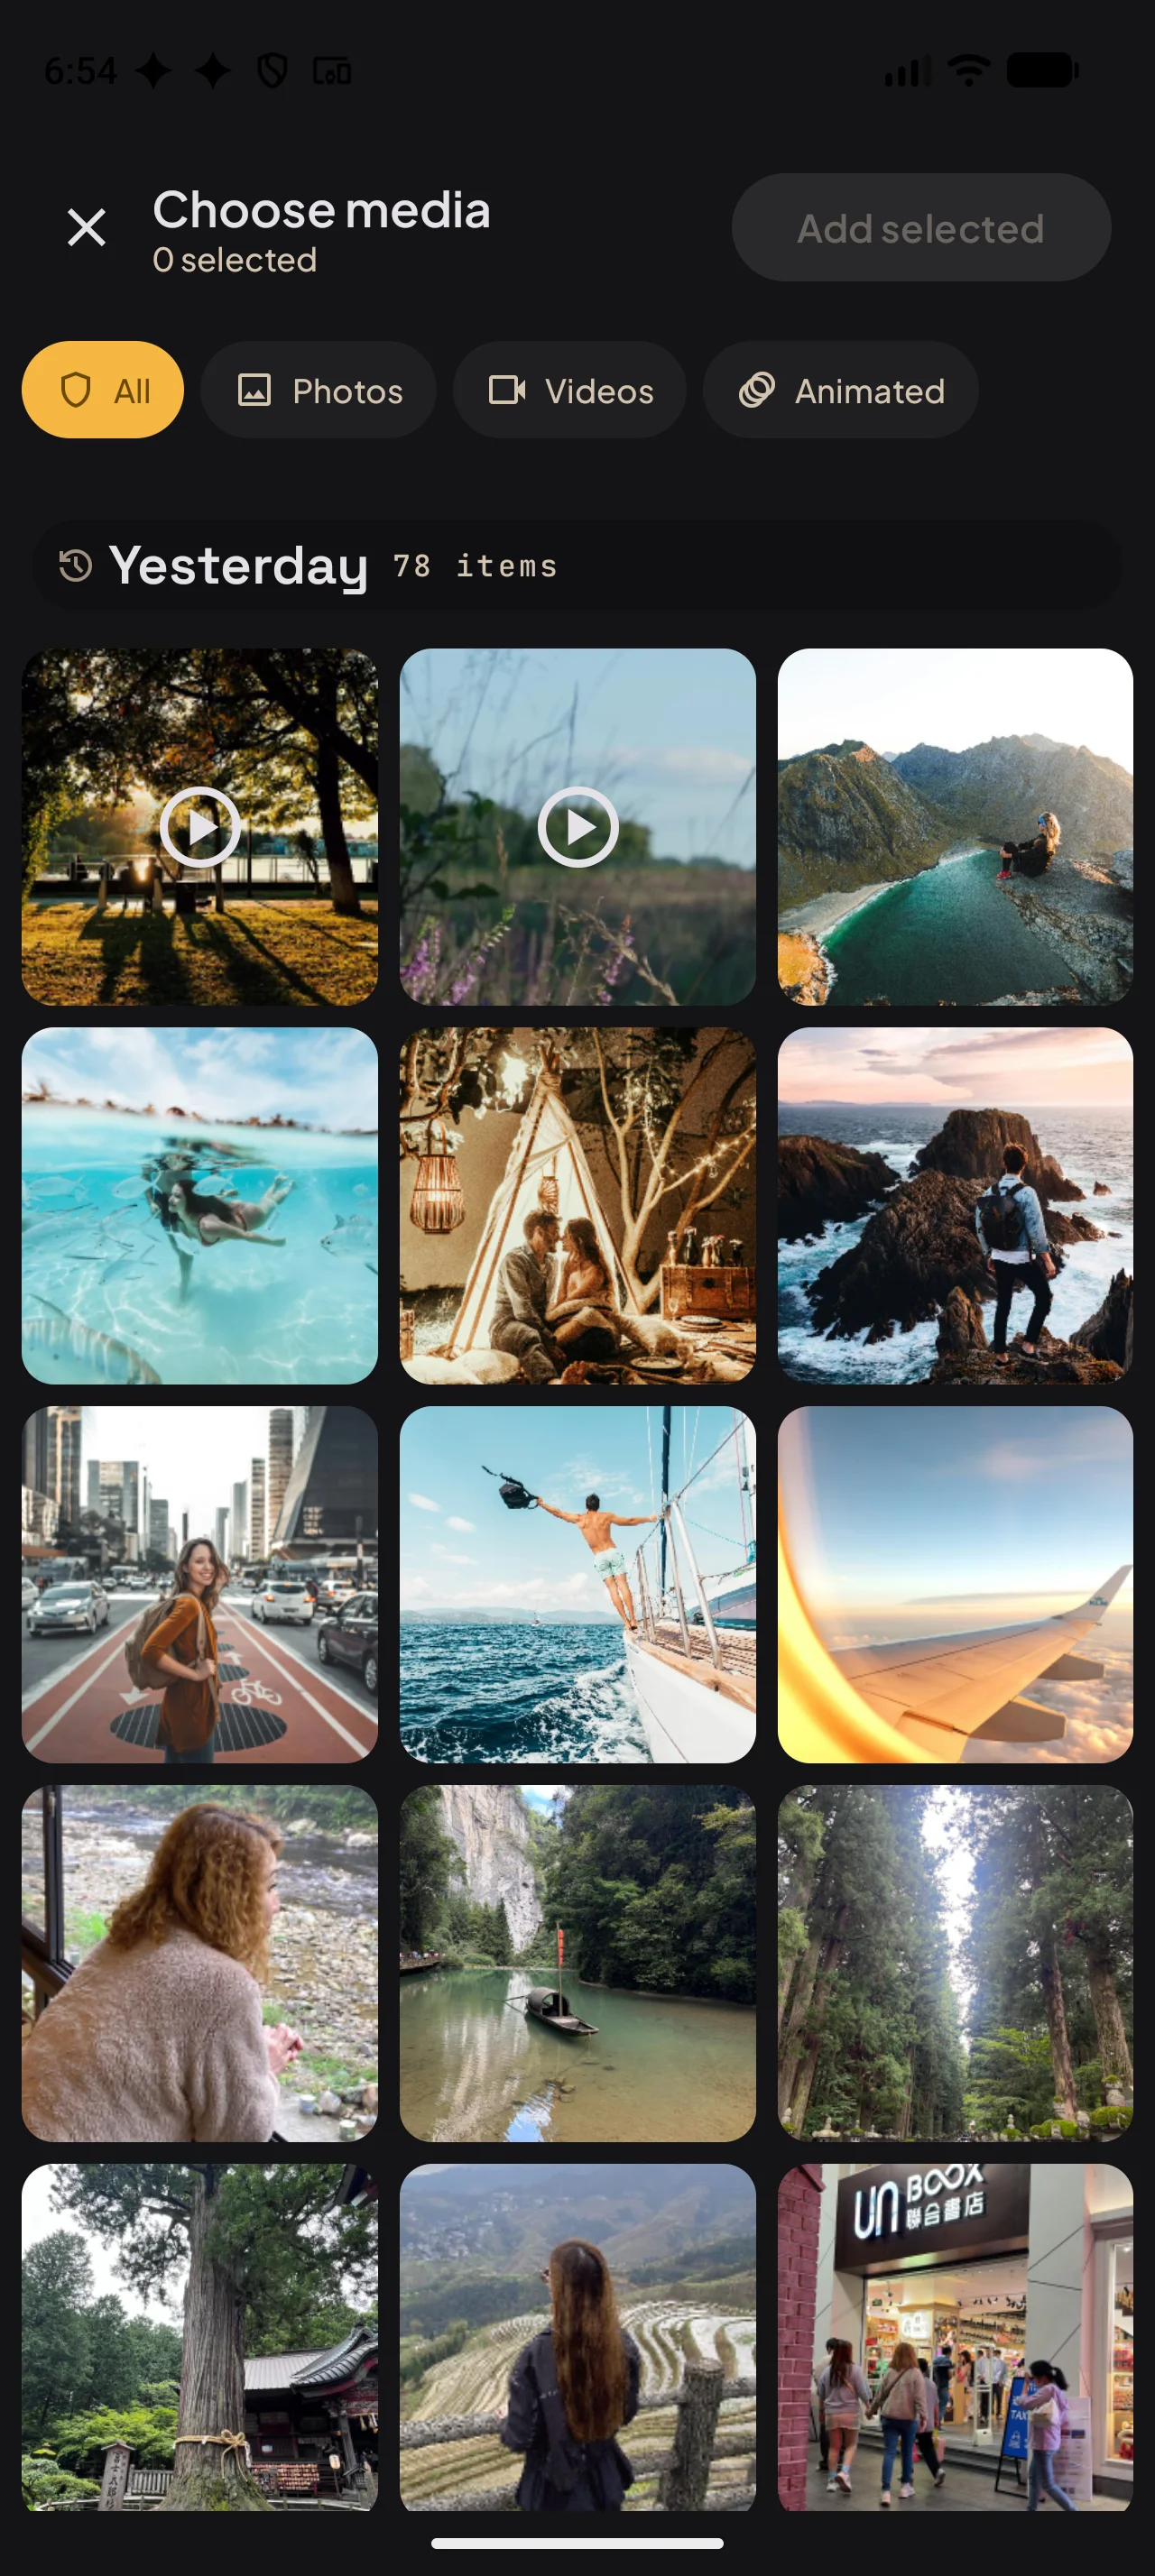
On the Library screen, tap Add. With Exit from Add media on, this opens your photos straight away instead of the Add media screen.
Pick photos and videos from your gallery.
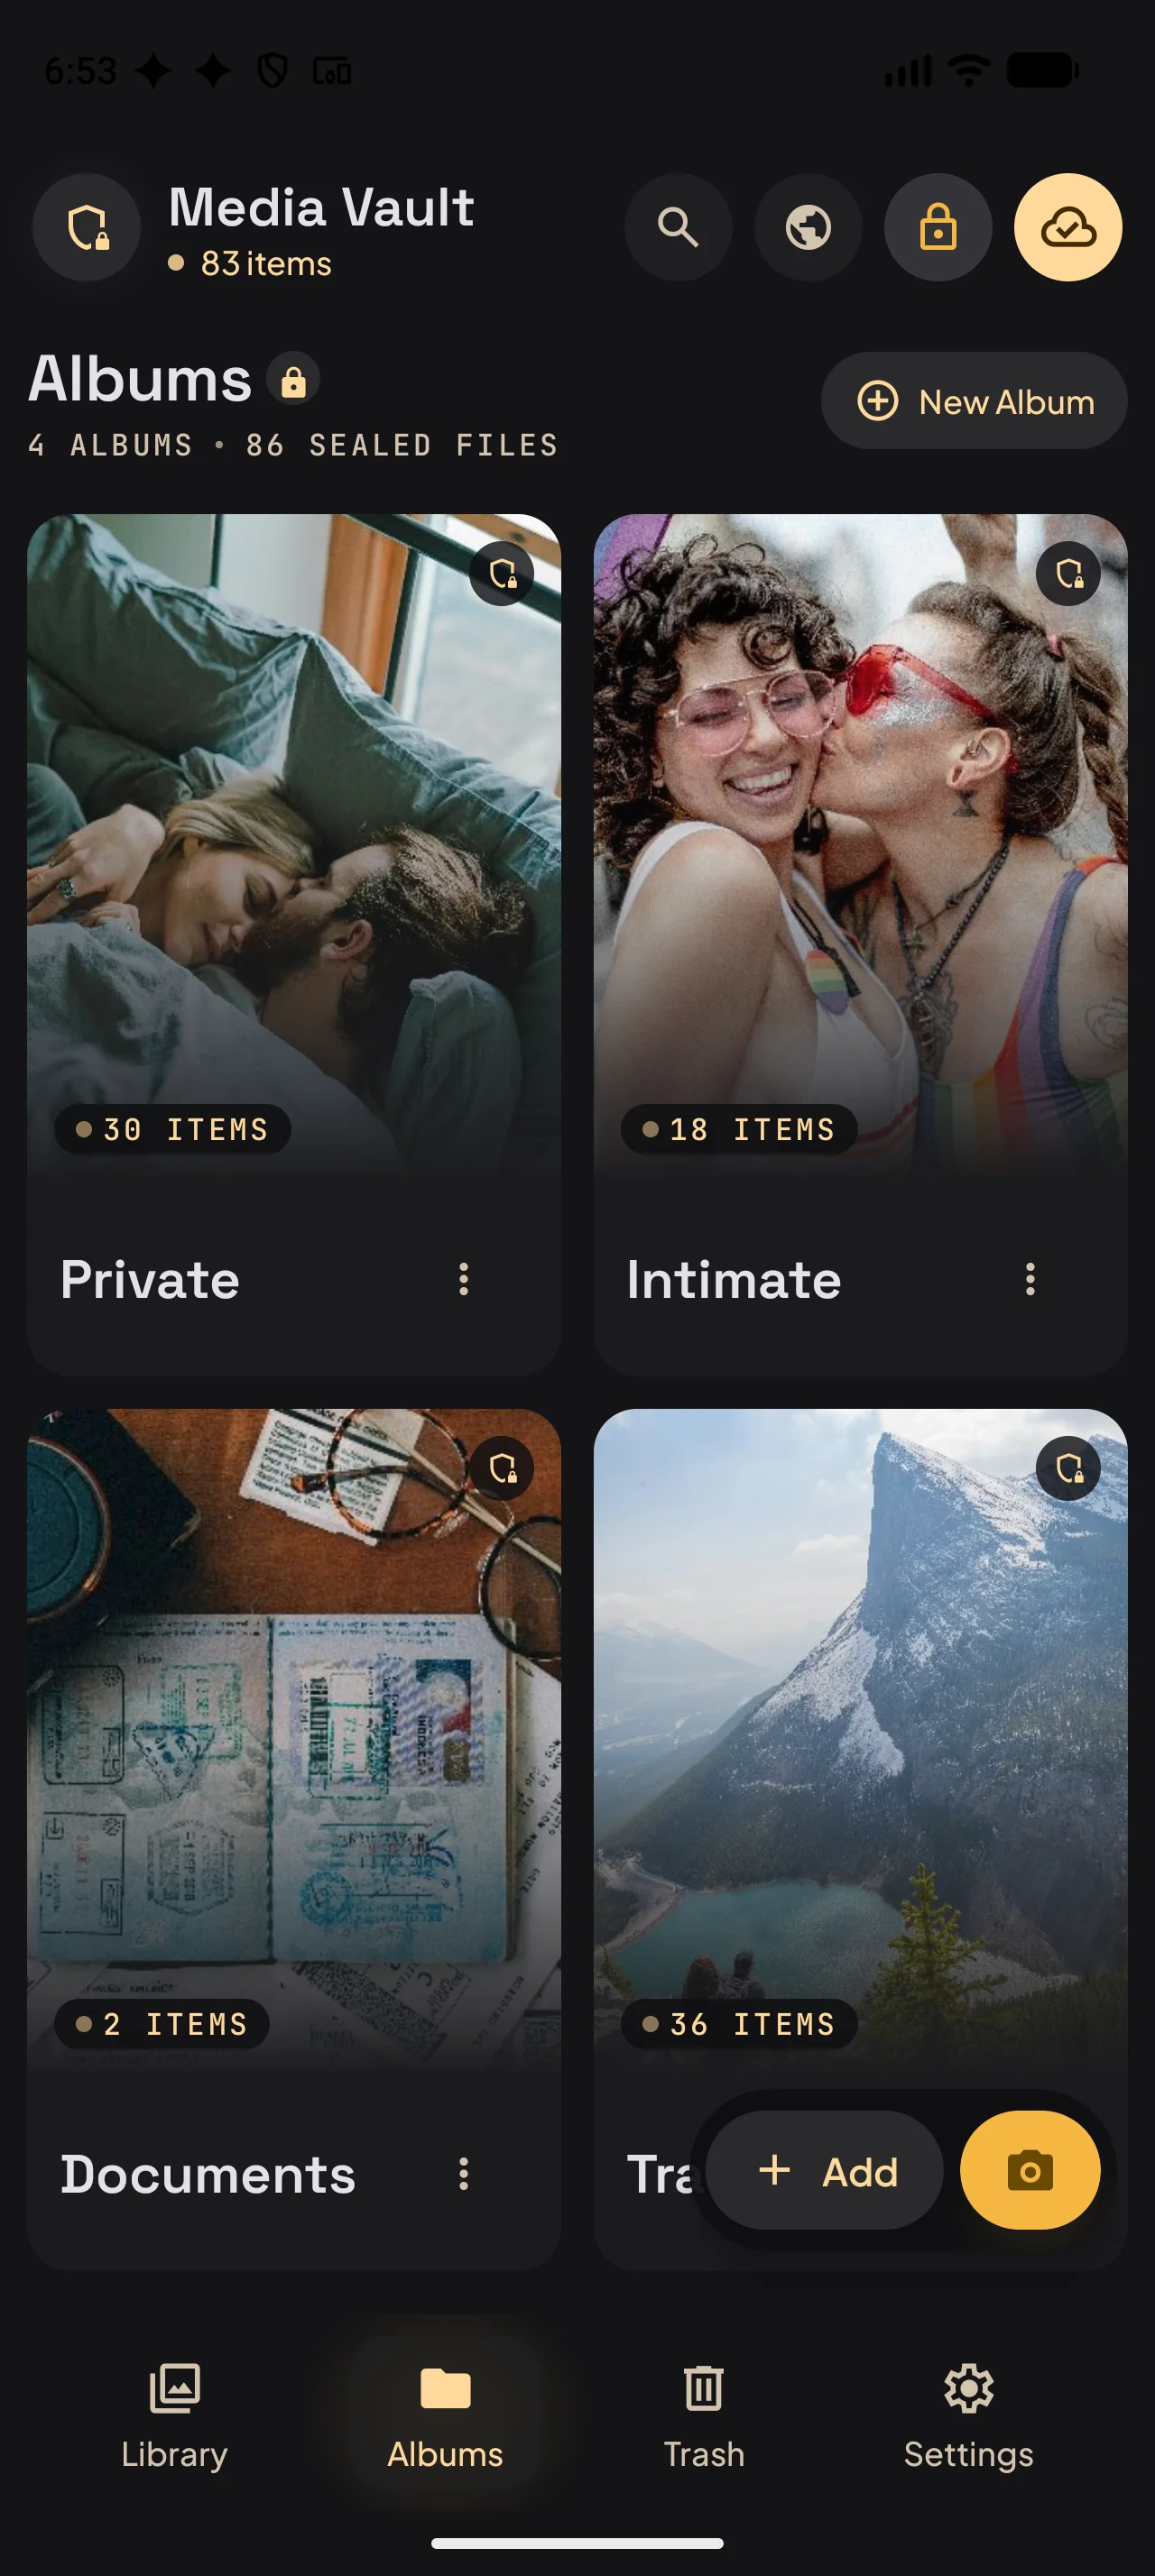
Choose an album, or leave them in All.
Confirm to move them into the vault.
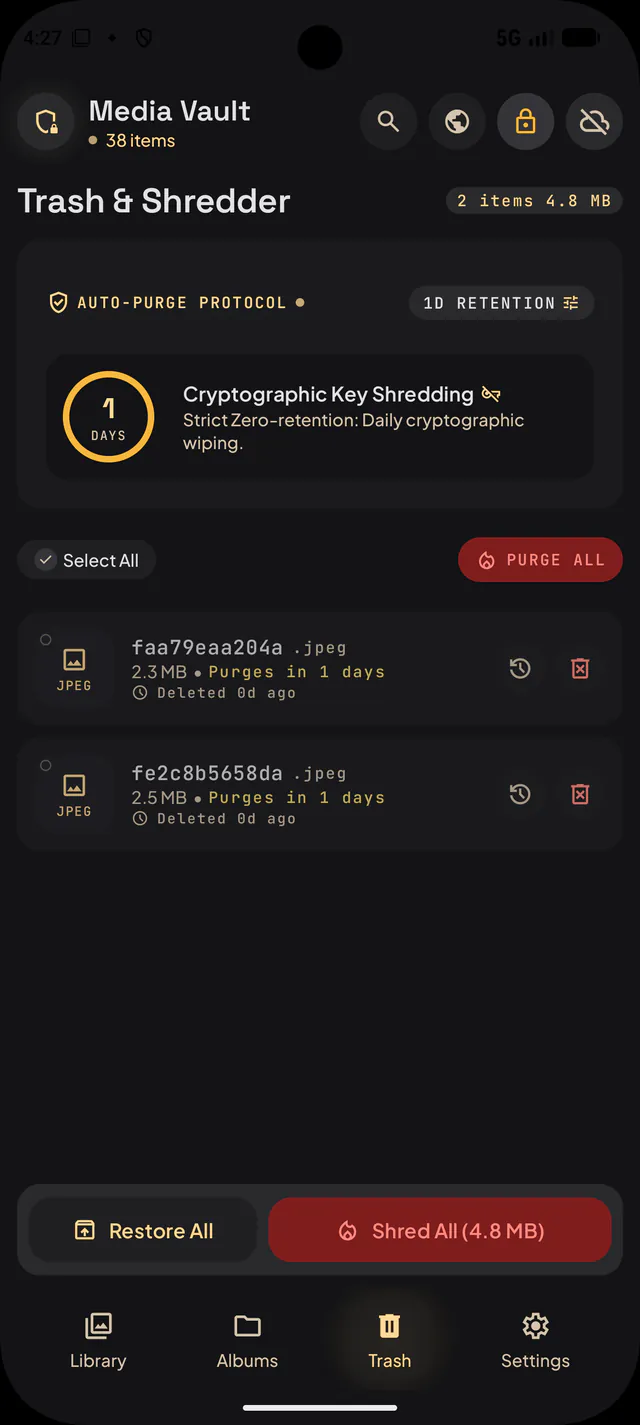
With Delete original after import on, each original is removed once it is safely sealed. This works with local media on Android and with Photos on iOS, where removed photos wait in Recently Deleted.
Tip: Use the camera button to take photos that go straight into the vault.
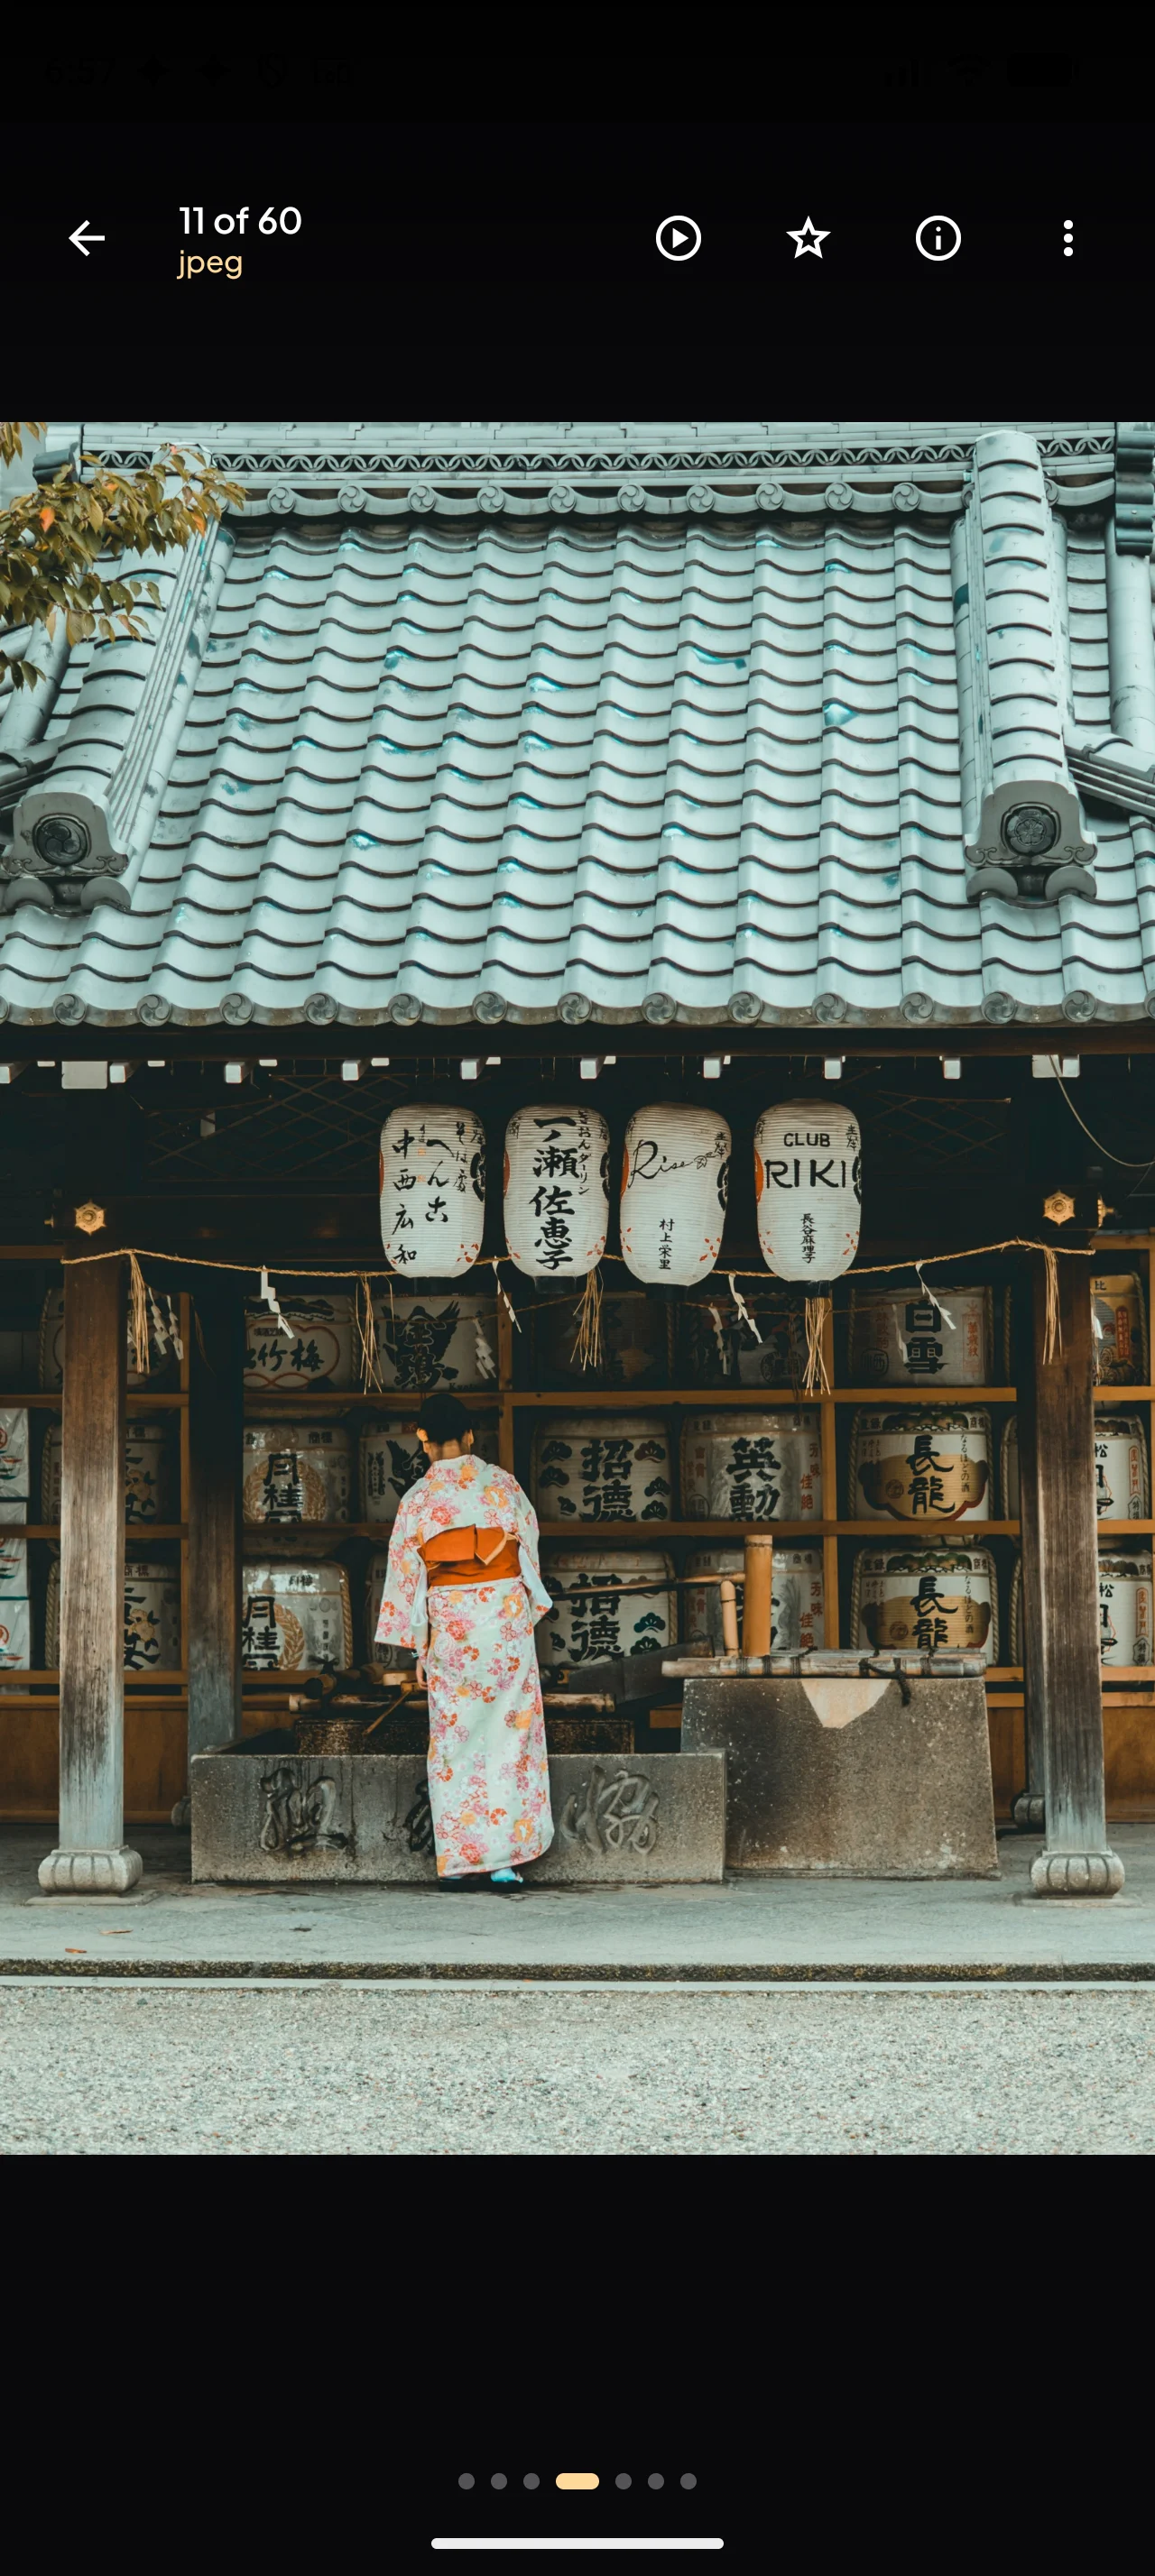
Choose how the Library grid looks and which labels each tile shows. Items are listed by date added, newest first.
Go to Settings → Library & imports.
Under Grid & labels, choose Square to crop every tile to the same frame, or Staggered to keep each item in its own shape. Items not measured yet stay square.
Turn on Format badges to show each file type, such as WebP, HEIC or MP4, or File sizes to show how much space each item takes.
Turn on Encryption labels to show AES-256-GCM on the library, album and viewer headers.
Storage notes show the Encrypted Cache and album storage notes, and Sync status text shows the sync status below the Library top bar while syncing.
Tip: Leaving labels off keeps the interface clean. Nothing about the encryption changes either way.
Media Vault protects every file with military-grade AES-256 encryption. Files are fully encrypted, never partially, so no part of a photo or video is readable without your PIN.
Encryption is on by default. There is nothing to set up.
Each photo and video is encrypted with AES-256-GCM as soon as it is imported into the vault.
Files are decrypted only on your device, and only after you unlock the app.
With Pro Google Drive sync, backups contain encrypted files only. Lefila cannot access the keys needed to decrypt them.
Tip: Keep your PIN and recovery kit safe. Because files are fully encrypted, they cannot be opened without your PIN; your recovery kit lets you set a new one if you forget it.
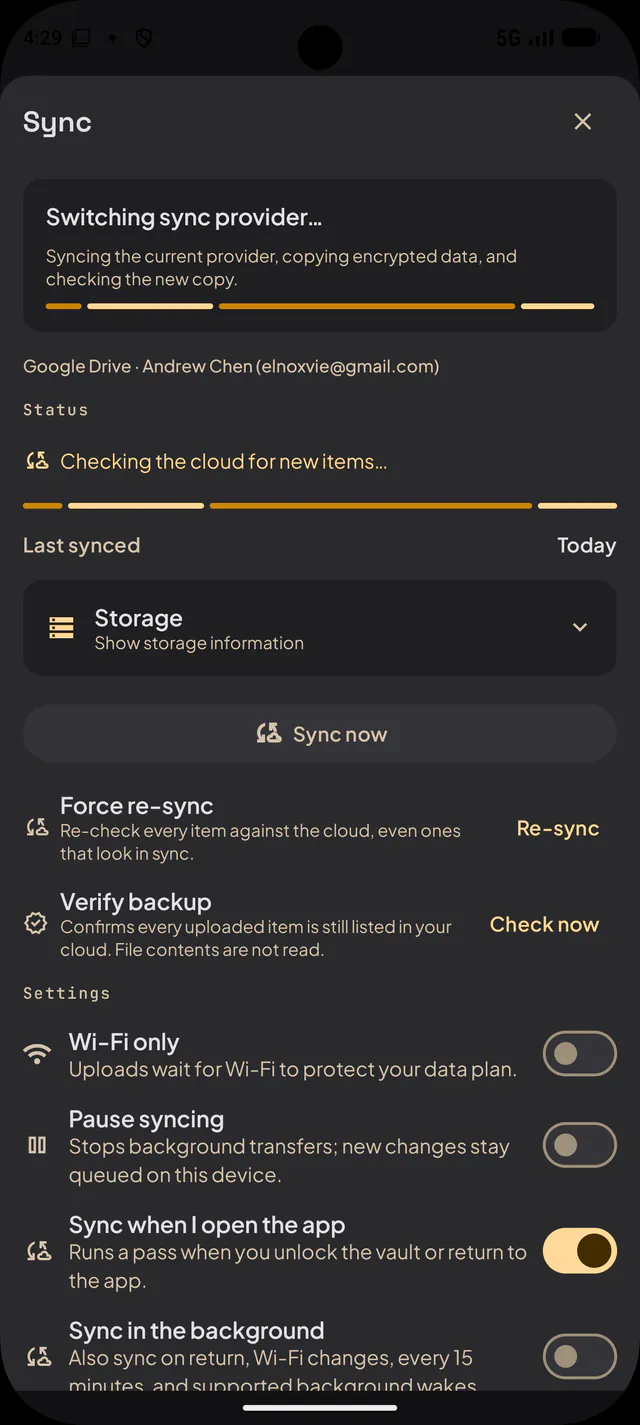
Back up your vault to Google Drive and restore it on a new device. Files are encrypted before upload, and Lefila cannot access the keys needed to decrypt the backup. This zero-knowledge sync is available with Pro.
Go to Settings → Sync & backup.
Sign in with your Google account and turn sync on.
Wait for the first sync to finish over Wi-Fi. To see its progress, turn on Sync status text in Settings → Library & imports.
On a new phone, sign in with the same Google account to restore your vault.
Tip: In Settings → Library & imports, Repair this vault from Drive repairs this vault from your backup, and Restore a different Drive backup replaces this vault with another backup.
Transfer photos and videos between your Android phone and computer over local Wi-Fi using encrypted WebRTC.
Your media files are never sent to or stored on Lefila's servers. Our website provides the transfer interface, while your devices handle pairing and file transfers directly.
How it works
Start: Open Media Vault → Settings → Wi-Fi Transfer on Android.
Connect: Open the transfer website on your computer and enter the six-digit pairing code shown on your phone.
Upload: Select files to import into your encrypted vault.
Download: Approve gallery access on your phone, then browse and download selected media.
How secure is Wi-Fi Transfer?
Your photos and videos travel through an encrypted WebRTC connection directly between your devices.
Wi-Fi Transfer uses two separate connections:
Connection
Purpose
Encryption
WebRTC
Transfers photos, videos and gallery data
Encrypted
Local WebSocket (WS)
Pairing and connection setup
Not encrypted at the transport level
Why might my browser say “Insecure”?
The transfer website uses HTTPS, but the connection to your Android phone uses a local WebSocket (ws://). Some browsers may flag or block this as mixed content.
This warning concerns the connection setup, not the encryption of the WebRTC media transfer. Pairing and signaling must still be authenticated to protect against tampering.
Pairing uses a local WebSocket. Media moves directly between the devices over encrypted WebRTC.
Your privacy matters
No cloud uploads: Media transfers directly between your devices.
No media stored by Lefila: Our servers do not receive your photos or videos in the direct-transfer flow.
Your control: Browsing your phone's gallery requires approval on Android.
Limited access: Transfer sessions are temporary and can be stopped on your phone.
Our website may process normal connection information, such as IP addresses and website access logs. Optional network-discovery services may also receive connection metadata, but not your media files.
Current limitations
Feature
Current limitation
Availability
Under development; not generally available
Supported phone
Android only
Browser compatibility
Local WS may be blocked or flagged as mixed content
Session duration
15 minutes
Pairing attempts
Maximum 5 incorrect codes
Upload limit
500 files per session
Individual file size
Maximum 2 GiB
Total upload size
Maximum 5 GiB
Gallery access
Requires Android approval
Session termination
Stop on Android or finish in the browser
Testing status
Physical-device compatibility and independent security review pending
These limits apply to the current test build and may change before release.
Troubleshooting: If your browser blocks the local connection, Wi-Fi Transfer may not work. Do not bypass browser security warnings.
Wi-Fi Transfer is separate from Google Drive backup.
Still stuck? Email support@lefila.com with your device model, app version and a short description of the problem. We usually reply within two working days.
Find your app version under About in Settings → About & support.
From the same screen, open Support to get help or to make a privacy or data request.
Tip: Show the tour again, also under About, replays the pointers on the home screen. Nothing about your vault changes.